Renter-Friendly Kitchen Upgrades You Can Undo in One Weekend
October 10, 2026 - Home


October 10, 2026 - Home
October 04, 2026 - Food

October 01, 2026 - Travel
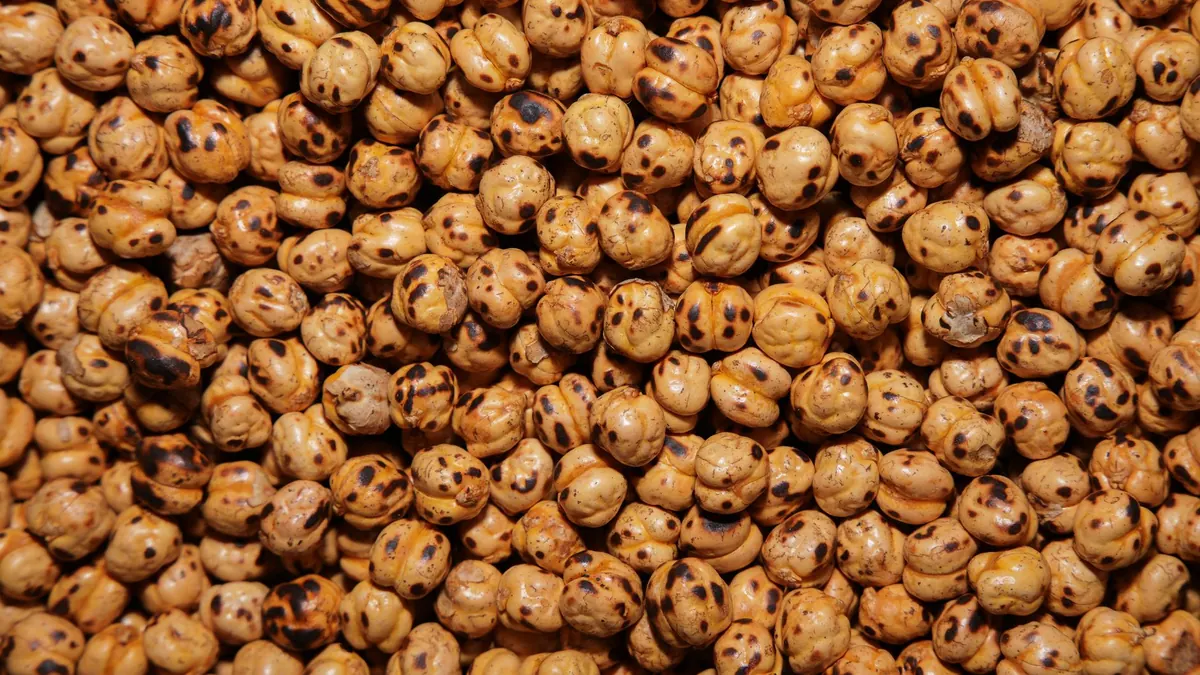
A bag of dried beans costs less than almost anything else in the pantry, and one pot can feed you for days. So why do they so often come out mushy, bland, or stubbornly hard in the middle? Almost never luck. Beans are patient and forgiving, but they respond badly to guesswork. Most disappointments trace back to a handful of small decisions made before and during cooking.
Here are the mistakes that matter most, and what to do instead.
Sorting takes two minutes and saves a chipped tooth. Spread the beans in a single layer on a sheet pan or a wide plate, then pick out the shriveled, discolored, and broken ones. Run your fingers through looking for small stones, which still turn up in commercial bags.
Then rinse them in a colander under cold water until it runs clear. Dried beans carry field dust and the occasional bit of grit. Even a bag labeled "picked and sorted" is describing an average, not your dinner.
Soaking does more than soften. It shortens cooking time and, just as importantly, helps the beans cook evenly, so you don't end up with a pot of collapsed outsides and chalky centers.
Either works. What doesn't work is soaking for two or three days. Past twelve hours at room temperature, beans begin to ferment and smell sour. Drain and rinse them before cooking; that soaking liquid has done its job and tastes like nothing you want in the pot.
And don't soak out of habit. Lentils, split peas, and black-eyed peas cook quickly enough without it. Soaked or unsoaked is less a rule than a scheduling decision.
The old warning that salt toughens bean skins has been overturned in most home kitchens. Salt added early, even to the soaking water, seasons the bean from the inside out. Salt added at the end leaves you with a salty broth and a flat-tasting bean.
Add a generous pinch of salt to the soaking water, and salt again when the beans go on the stove. Taste the cooking liquid as you go. It should taste properly seasoned, a touch on the strong side, because the beans themselves will pull that flavor inward.
Acid is the opposite story. Tomatoes, vinegar, citrus, and wine all slow softening dramatically, so hold them until the beans are tender. A pot of beans that refuses to soften after two hours often has a can of tomatoes to blame.
A hard, rolling boil is the fastest route to split skins and blown-out, mealy beans. You want a lazy simmer, small bubbles breaking the surface now and then, roughly the temperature of a cup of tea you're waiting to drink. Keep the lid slightly ajar so steam can escape and the pot doesn't climb back to a boil.
Use a pot with room to spare, leaving two or three inches of headroom, and stir gently and rarely. Every vigorous stir knocks skins loose. Crowding the pot does the same thing.
One safety note worth remembering: red kidney beans need a hard boil for at least ten minutes before you drop the heat to a simmer. Raw and undercooked kidney beans can cause serious stomach illness, and slow cookers are a poor choice for them.
Cover the beans by an inch or two to start, and more if they went in unsoaked. They keep drinking as they cook. Top up with hot water, not cold, since a splash of cold water stalls the whole pot and throws off the timing.
Aromatics are welcome from the start: onion, garlic, bay leaf, cumin, oregano, a dried chile. Broth or a ham bone works too. Skip the baking soda unless your water is unusually hard, and then only a small pinch, because it can turn beans to paste and leave a soapy edge. Aromatics season the pot; fat and acid finish it. A glug of olive oil, a knob of butter, or a squeeze of lemon stirred in at the end is often the difference between decent beans and a bowl you want to eat plain.
Dry beans don't spoil quickly, but they do age. Older beans take longer to cook and sometimes never soften properly, no matter what you do. Buy from a store with steady turnover, keep them airtight in a cool dark place, and don't mix an old scoop with a new bag.
Cooked beans are a different matter. Cool them within an hour, then store them in their cooking liquid, which keeps them moist and seasoned. They'll hold in the refrigerator for four or five days, and they freeze well in two-cup portions with a little liquid alongside. Reheat gently, in a saucepan or the microwave, rather than boiling them again.
Sort and rinse. Soak if your schedule allows, salt the water. Simmer gently, keep the beans covered, and leave the tomatoes for later. Season at both ends of the process, not just the beginning. Store what's left in its own liquid.
Get those habits in place and dried beans stop being a gamble. You end up with creamy, well-seasoned beans for the price of a few cents a serving, plus a pot of cooking liquid that's good enough to build a soup on. That's the whole reward for paying attention to a few small things.
Photo: Art / Pexels
A practical guide to renter-friendly kitchen upgrades — peel-and-stick tile, plug-in lighting, freestanding storage...

A practical starter plan for strength training after 50: the key movement patterns, what equipment you actually...
October 10, 2026 - Home
October 04, 2026 - Food
Copyright © 2026 Lifestyle Vale. All Right Reserved.