Renter-Friendly Kitchen Upgrades You Can Undo in One Weekend
October 10, 2026 - Home

October 10, 2026 - Home

October 04, 2026 - Food

October 01, 2026 - Travel
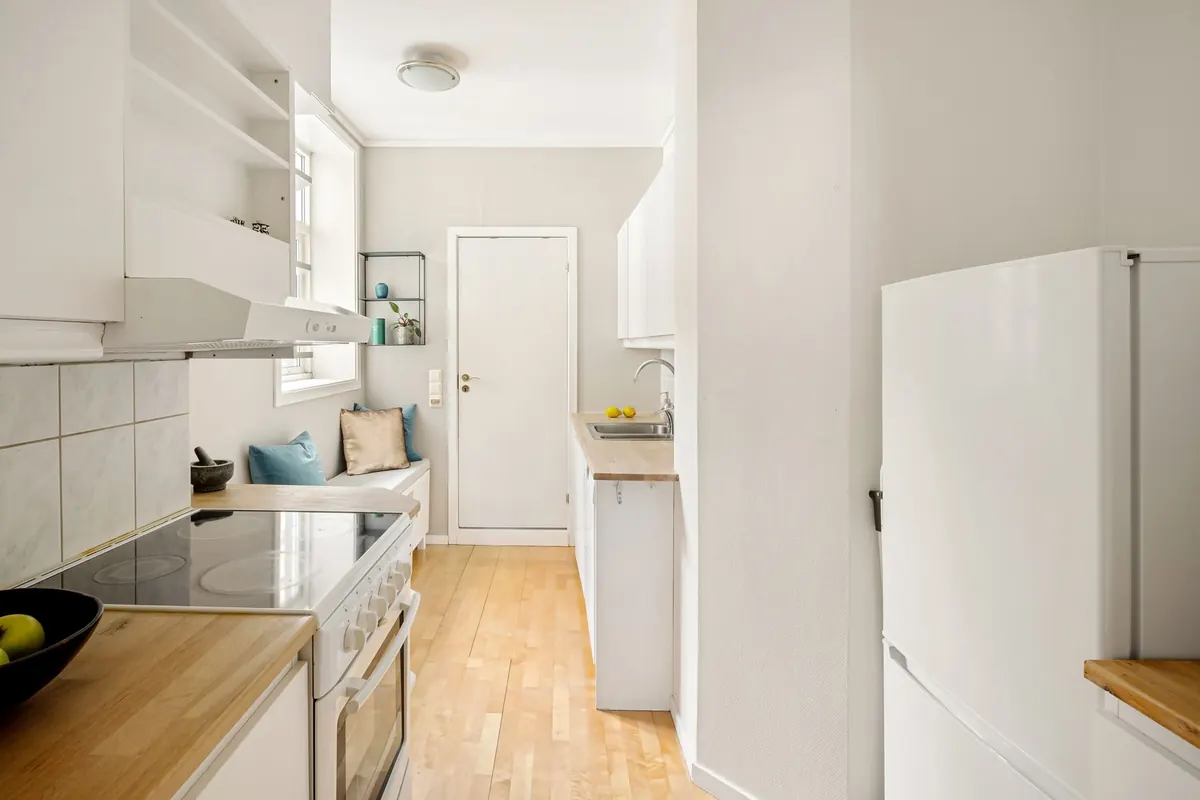
Rental kitchens tend to arrive with the same three problems: beige cabinets, a ceiling light that makes everything look like a parking garage, and counters with no room to chop an onion. None of that is worth fighting your landlord over. But you don't have to live with it either.
The upgrades below are reversible. They rely on adhesive, tension, or a plug — not on drills, paint, or a plumber. Done in the right order, the whole thing fits into a weekend, with Sunday afternoon left for the part most people skip: testing that it comes off.
Read your lease, then send your landlord a short, specific message. Not "can I redecorate" — that invites a no — but "I'd like to add a peel-and-stick backsplash and a plug-in light under the cabinets, both removable and restored before I move out. Any objection?" Most landlords say yes to that, and a written yes is worth more than a verbal one.
Then do two things that will save you later:
This is the upgrade with the biggest payoff, and the one most likely to fail if you rush the prep. Grease is the enemy; tile sheets simply will not hold to a wall that has cooked a thousand meals.
Wipe the wall with a degreaser, let it dry completely, then go over it with rubbing alcohol on a clean cloth. Wait an hour. If the wall is textured, deeply pitted, or painted with a chalky flat finish, the adhesive may lift on its own within weeks — test one tile in a corner and give it a few days before committing to a whole sheet.
Peel the backing paper off a sheet and hold it against the wall before sticking anything. Start from a focal point — the center of the stove or the window — and work outward, so any awkward cut edges land in corners instead of the middle of the wall. Mark a level line with painter's tape; you can peel the tape off, and you'll have a straight guide.
Peel only the top few inches of backing, align to your tape line, press that strip down, then peel and press in sections, smoothing with a plastic card as you go. Trapped air shows up as a shadow under glossy tile and never disappears on its own.
Keep tile below the counter's existing upstand where possible. Water sitting behind the bottom edge is the one thing that will damage the wall underneath, and that damage is what landlords notice.
Warm the tile with a hairdryer on low, then peel slowly at a shallow angle — almost flat to the wall, not straight out. Work in small sections. Any residue comes off with a citrus-based adhesive remover and a plastic scraper. Never use a metal blade on painted drywall.
Contact paper can transform a scratched laminate counter or dated cabinet fronts, but it is fussier than the videos suggest. It works on smooth, sealed surfaces. It fails on textured laminate, unsealed wood, and anything near the stove where heat and spatter collect.
If you want to try it, start small: a coffee station, the sides of the fridge, the inside of glass-front cabinets. Cut pieces slightly oversized, apply from one edge while peeling the backing away with the other hand, and smooth outward with a felt-edged squeegee. Overlap seams by a few millimeters and orient them away from the main sightline. Under-cabinet or behind the bin is not the place to experiment.
You need counter space more than you need cabinets. The trick is to add vertical storage that stands on its own rather than hanging from the wall.
If you do want wall shelves, ask first. A landlord who says yes to two small shelves in writing is very different from one who discovers four holes at the walkthrough.
Before you buy a single tile, change the bulbs in whatever fixture you already have. Warm white — around 2700K — will do more for a kitchen than any surface you cover. Cool white bulbs are what make rental kitchens feel like break rooms.
For task lighting, battery and USB-rechargeable LED bars are the simple answer. Most mount with a magnetic plate screwed into the cabinet underside or an adhesive strip, and they come off cleanly. Run one under the cabinet above your main prep area, not above the sink, and put a small rechargeable puck inside a dark cabinet so you can actually see the back shelf.
If the ceiling fixture is genuinely awful, a plug-in pendant or a clip-on lamp aimed at the wall can warm the whole room. Anything that requires touching the wiring is not a renter's job — ask the landlord or leave it alone.
Move-out day is where deposits are won and lost. Warm every adhesive with a hairdryer, peel slowly at a low angle, and keep a bottle of adhesive remover and a plastic scraper on hand. Command strips should be pulled straight down by the tab, never pried off. Tiny nail holes fill with lightweight spackle, a fingertip, and a touch of touch-up paint — ask your landlord for the paint color, or find the leftover can, before you need it.
Put the original hardware back, take the same photos you took on day one, and compare. If something did go wrong — a patch of paint came off with the tile, a shelf left a mark — say so before the walkthrough rather than hoping nobody looks. Landlords respond far better to "here's what happened, here's my plan" than to a surprise.
And if your lease has unusual terms or your landlord is refusing reasonable requests, it's worth checking your local tenancy rules or asking a tenants' rights organization for guidance before you spend money on a kitchen that isn't yours.
Photo: Lisa Anna / Pexels

A practical starter plan for strength training after 50: the key movement patterns, what equipment you actually...
A practical early-fall produce guide: what to buy now, how to store each item, and how to cook it before it slips.
October 10, 2026 - Home
October 04, 2026 - Food
Copyright © 2026 Lifestyle Vale. All Right Reserved.